Think Before You Ink Part 9 0f 9
FILLING BLACK AREAS
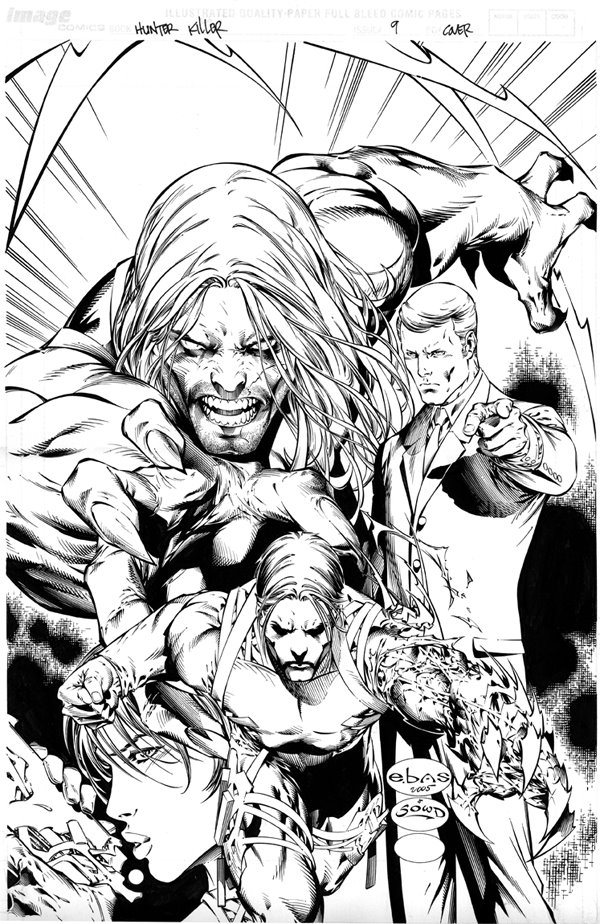
Now you can fill in the black areas with a brush. I do this after erasing, because if you don’t the eraser can lighten and smear the black areas across your art. Plus, it keeps everything cleaner. So now you’re done! I use a Pentel white out pen to make any corrections and Pro White to do any special effects in white. This looks good for wisps of hair and things like that.
So remember: always start with the biggest most basic shapes and work down to the tiniest details last.
And ask yourself questions as you go: what am I trying to convey with this line? How can I make this look more solid, more three dimensional?
Remember this is not the only way or the right way, just the way that works for me! Hope it helps you! If you have any questions, just let me know or e-mail me!
-Aaron
posted by Aaron Sowd at 8:02 PM
![]()

5 Comments:
This is very helpful...
I learned a bunch of things that I can try to apply when inking:)
(now if i can just ink that way -- hehehe)
very wonderful inks by the way:)
--kino--
Thanks, Kino. I'm glad it helped!
I just found this from a link from Twitter from Perazza. I find your info very useful. Your style is different from mine, however the technique remains the same. Thanks for the info!
I don't do comics, but I am no stranger to a pen.
I would like to get into it. Two questions.
How do I find a penciler?
Do I even need one?
Great resource by the way, That art 101 crap comes in handy folks hit the books, stay in school, and keep getting better.
Really helpful tips! Thanks so much. Beautiful job too!
Post a Comment
<< Home